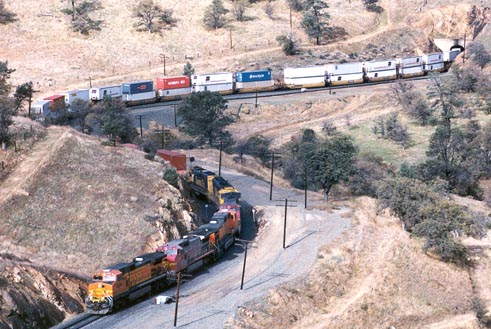
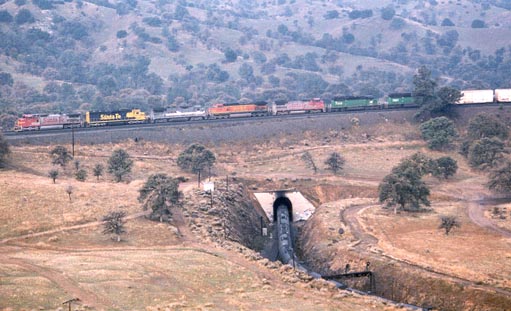
BNSF train heads towards tunnel 2 after climbing away from Caliente
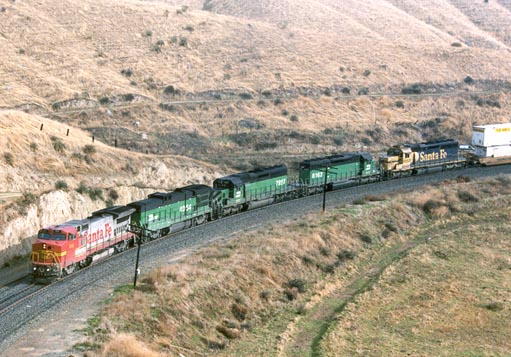
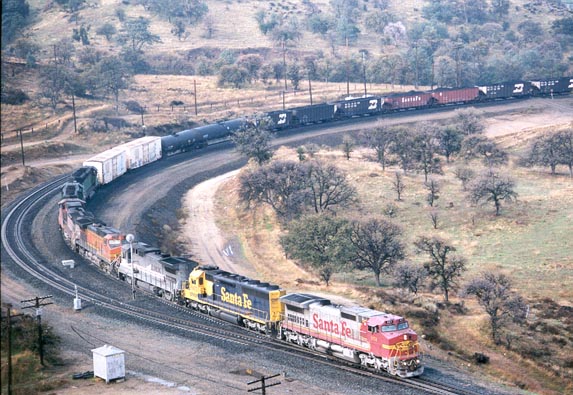
The same train negotiates the curves east of Cliff

Same train, same location
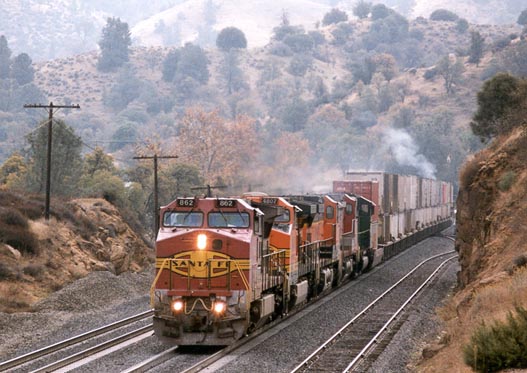
Back at tunnel 2, another BNSF train heads uphill with motive power including a cabless BN Dash 7
Heading out of the short tunnel, the train approaches Bealville with the B unit puffing some smoke

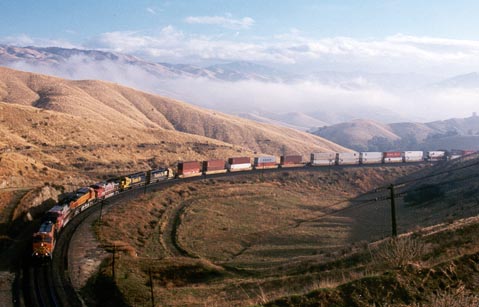
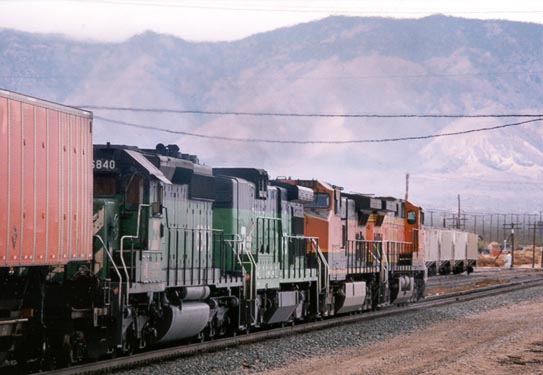
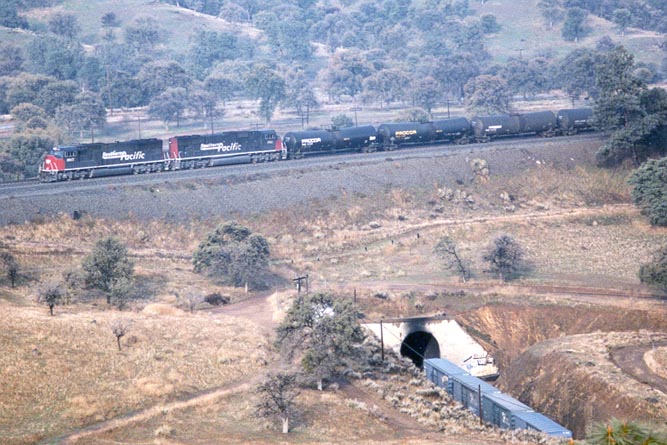
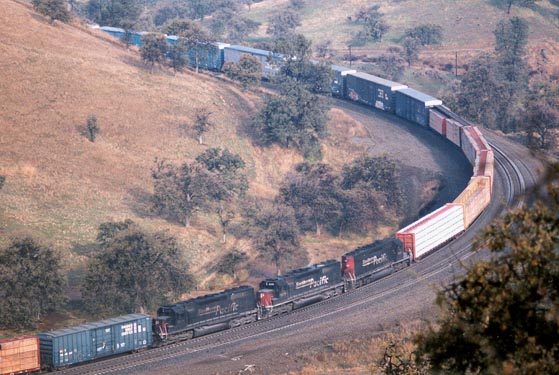
Back down west of Caliente, a 4 unit GE helper set heads back west, passing a double stacktrain waiting its turn to attack the hill.
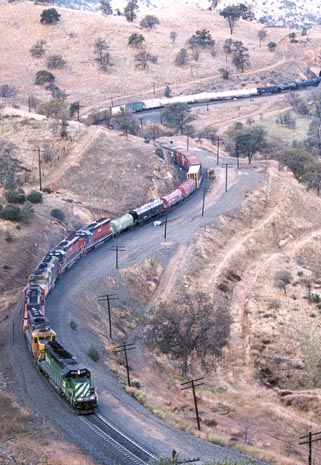
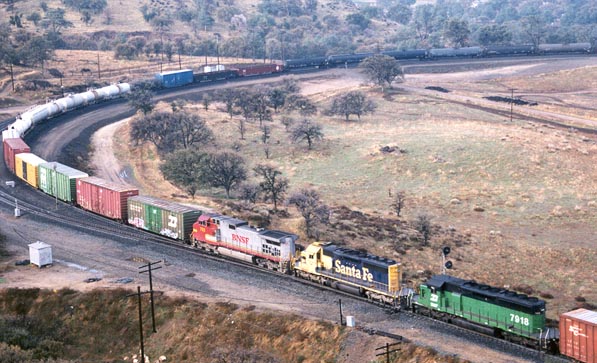
Back up north of the loop and Cliff, another BNSF train heads uphill. This one includes a Santa Fe cowl unit and two HCLX lease units
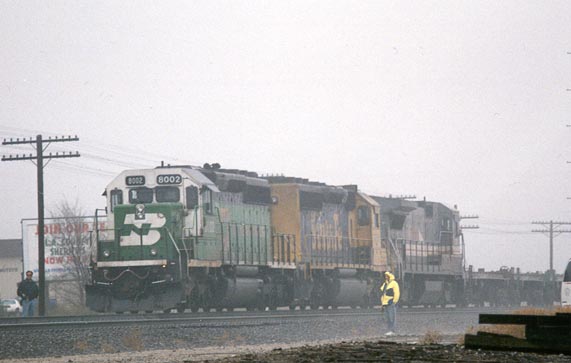
Help! I'm stuck. Two BNSF SD45's and a LMX B39-8 have come to a halt at the entrance to Tehachapi yard with a 123 wagon train of empty steel coil cars.
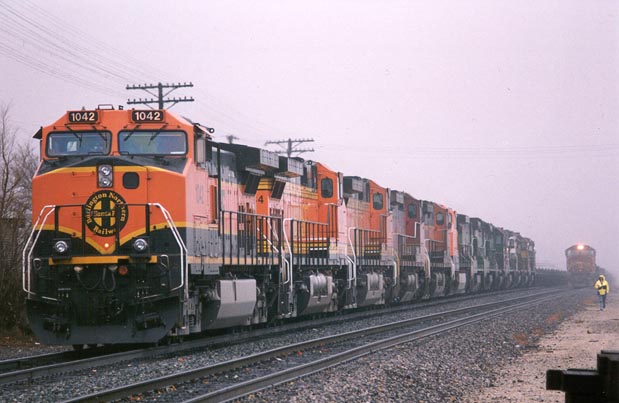 So some light engines are dispatched to help - 10 of
them! The 13 loco consist is about to move off with a
mix of power including dash 8 and 9, SD40-2 and two
cabless BN units. The loco at right is providing assistance at the back
of a loaded steel train which
has just passed.
So some light engines are dispatched to help - 10 of
them! The 13 loco consist is about to move off with a
mix of power including dash 8 and 9, SD40-2 and two
cabless BN units. The loco at right is providing assistance at the back
of a loaded steel train which
has just passed.

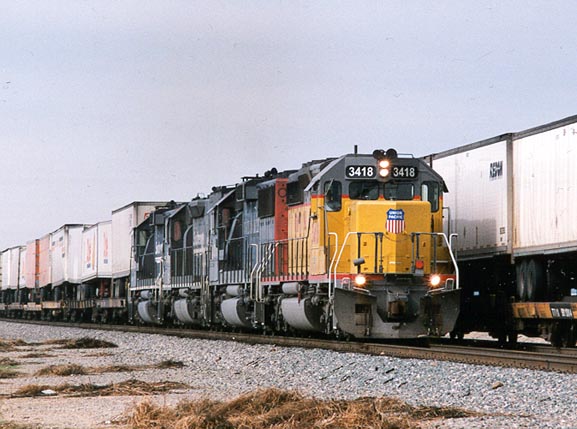
The 13 loco train enters Mojave. Only the first 4 of the 10 loco helper set were under power although they all seemed to be running.
At Mojave the train crosses a westbound pig train with another BN cabless loco
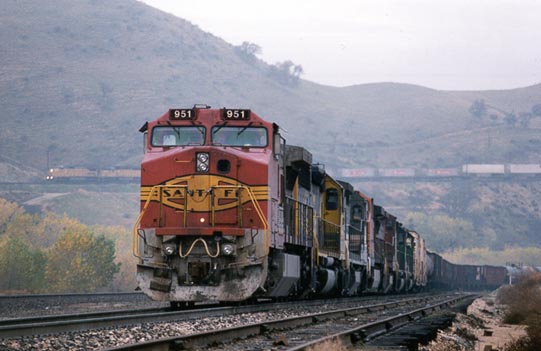
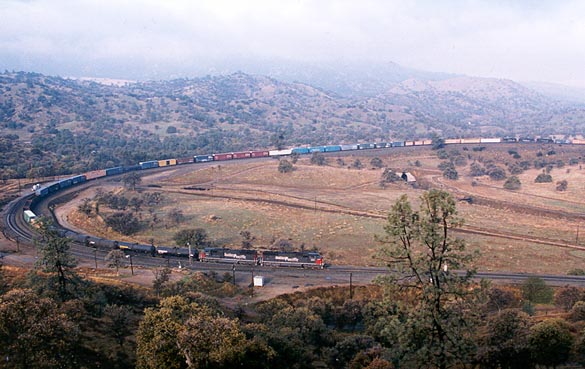
First visible train on Sunday morning after the fog lifts is this 7 loco BNSF train at Caliente. Behind the train, a UP train is heading down the hill, emphasizing the grade.

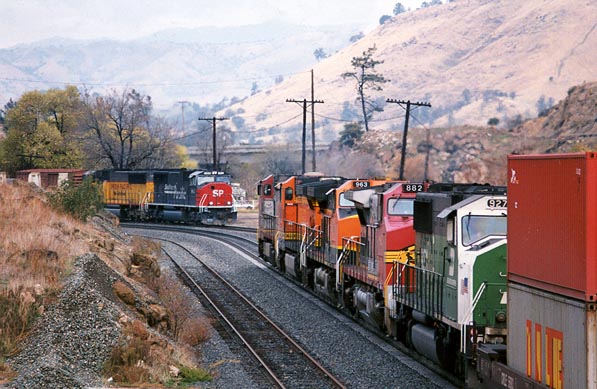
The UP train has descended the hill and negotiated the big 180 degree curve at Caliente to cross the BNSF train and exchange crews.
At Walong the BNSF crosses over itself at the famous Tehachapi Loop. The locos are on the double track at Walong loop. the west switch of this siding is at the bottom right hand corner.
The same train at the east switch of Walong loop a few moments after the previous shot.
And here are some of those elusive mid train helpers cut in two thirds of the way through the train. The three locos are working hard, but this long train is moving at a reasonable pace.
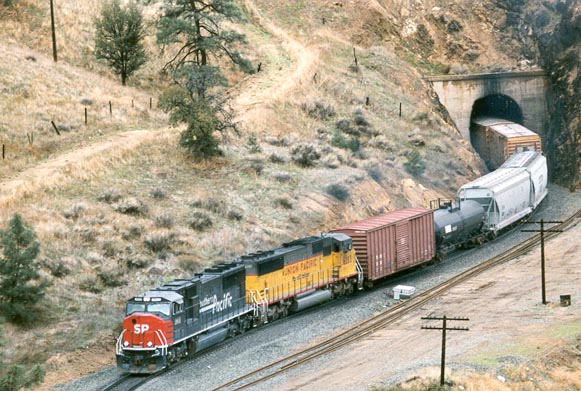
The next train up is a UP train with SP motive power in the form of two SD70M locos up front...
...and three EMD six axle SD units almost 40 cars back in the train. The only shot I ever got of a pure SP train with helpers.
The SP train showing the head end and mid train power.
At Woodford siding, which is in the far background of the previous photo, a BNSF double stack train heads downhill with 4 GE Dash 8/9s and an EMD SD60M in BN colours.
As the train moves past, a UP train headed by a SD70M in SP colours followed by a UP SD60M.
The same UP train slugs its way uphill and emerges from tunnel 10 which is where the earlier loop shots were taken from.
On the Bakersfield side of the hill, 4 EMD locos bring a hot pig train towards Sandcut and the start of another challenge on the hill, passing the BNSF train we saw at Woodford.