|
2009 |
 It's amazing what a little hunting can produce...an 6srkt engine control panel, some gauges and three of those nice recab headlights |
 The back room progress at the end of march. The rook and 80% of the walls are scraped, rust-proofed where required, primed, and topcoated. This view looks back at the rear wall (yellow door open). The rear TM blower ducting is on the left, the space where the dynamic brakes (currently in the KP wagon) will go. |
 Looking forward from the back wall, my air compressor is appropriately sited where a proper WHB compressor should go |
 And a similar view. The dark hole in the roof is where the dynamic brake air-operated roof shutters will go. There are two sets of these in the KP, one of which will be purloined and need a small piece of roof panel surround built for. Harder than it looks because the roof profile is anything but straightforward, but I have the plan for this panel thanks to Evan Batchelor. The DTG seem to have plans for almost everything as well. Luckily...! |
|
2008 |
March 2008: Ooo its clean. MU hole has since been covered up. Note OSH compliant scaffolding. The old flare (mentioned in more detail later) hangs on by a thread at the left of the headstock before three stuck bolts were ground off, drilled and tapped out. |

April 2008: Rear traction motor blower grille. Air is sucked in here by an electric motor and pumped down to the bogies for cooling via an underfloor channel between the main frame members. |

April 2008: Mmmmmm. Rusty. Not that I have time to fix it this visit, alas. |

April 2008: Just in case you ever wondered... |

April 2008: The back is primed and the bog sites arrowed. I'd planned to do less - two or three spots bit but ended up having a bit of a bog party. The smell took me back to when Rhys and I used to cast NZ120 wagons in the stuff. The blower hole has also been cleaned out and painted under the tarp at the right of the shot and the new superflare gets some paint at bottom left. |

April 2008: Extreme makeover time: Bogged, primed, rear headlight ex Rietvelds installed, patched MU hole, and the Superflare and rear ladder lugs fabricated by Jackson Sheetmetal have been installed |

Remember when...? 2376's crash patch flare as seen six years ago in 2002. Note the decaying bodyside |

April 2008: Deflared. About 50mm of the rusted body skin was removed above the patch in a crazed session of wanton destruction with a grinder |

April 2008: Flares are back. The new and improved superflare in place |

April 2008: Well, that should brighten things up a bit down at Ferrymead and stir things up a bit elsewhere |
|
2006 |
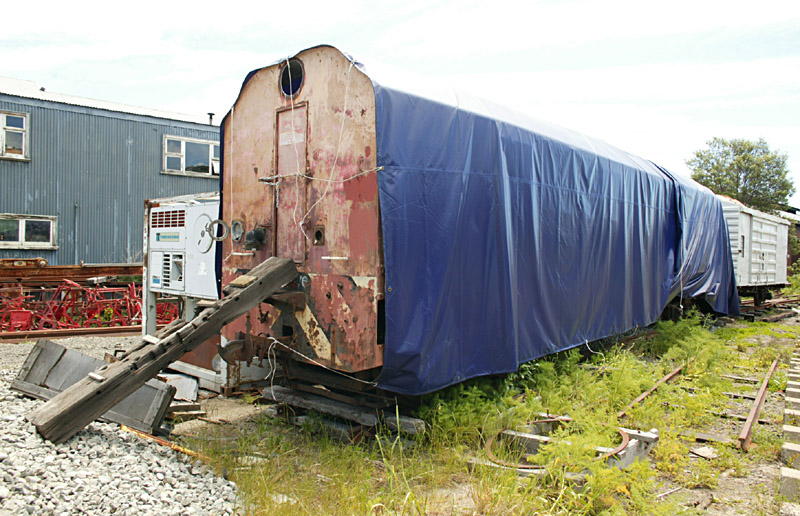
11/06: Walk the plank, ye dogs! DG2376 cleverly disguised as a big blue tarpaulin with a rusty end. |
11/06: Oooo, shiny. |
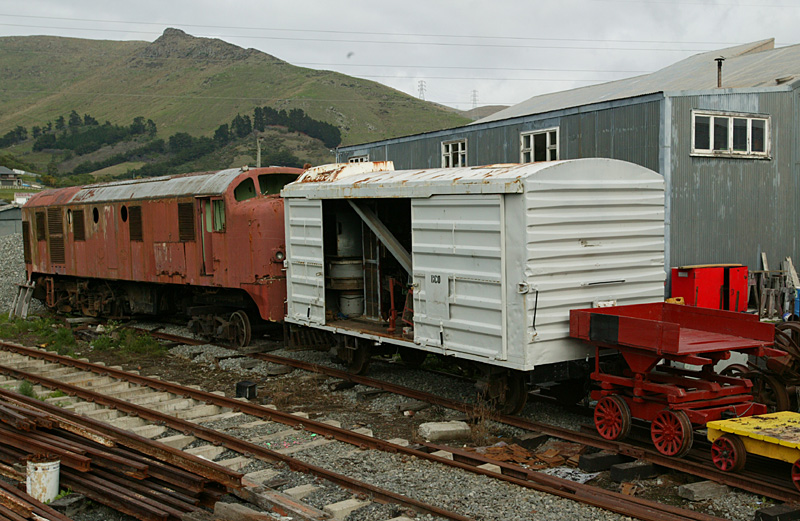
5/06: The DG and Kp at Ferrymead on an appropriately somber Christchurch day |

5/06: Aladdin's Kp Cave: One set of DG dynamics, a master controller, misc elec bits and and a DJ air operated reverser... score! |
|
Prologue: Pictures taken
during the exploratory trip to Weka Pass in Oct 2002 that sparked the initial offer. |
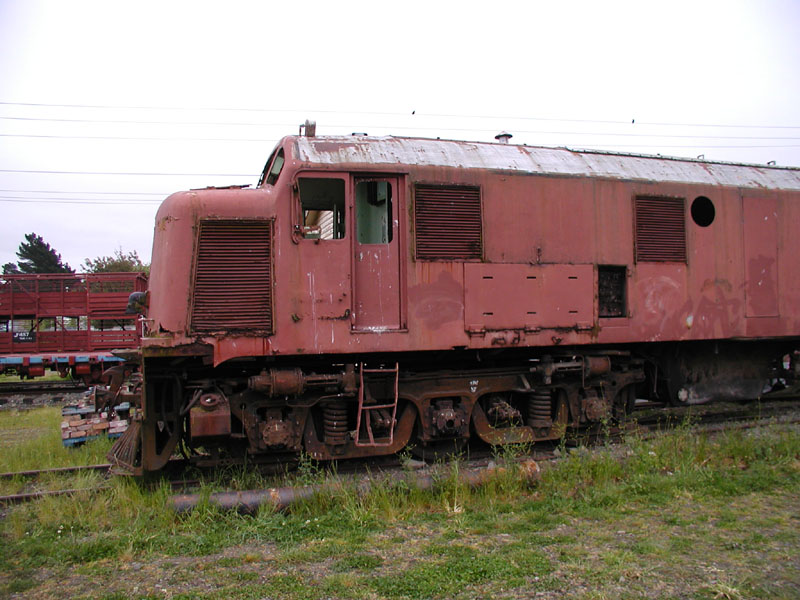
Nose |
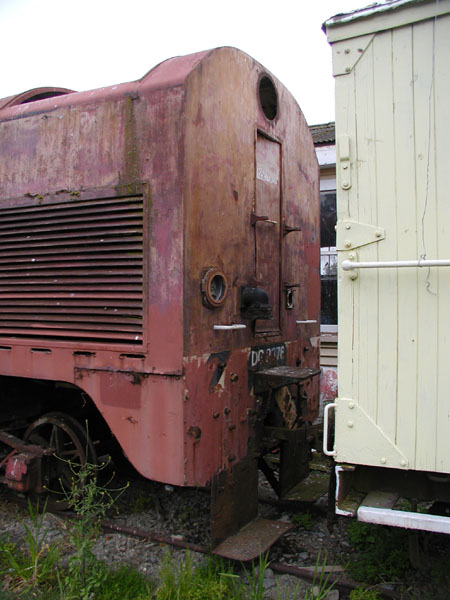
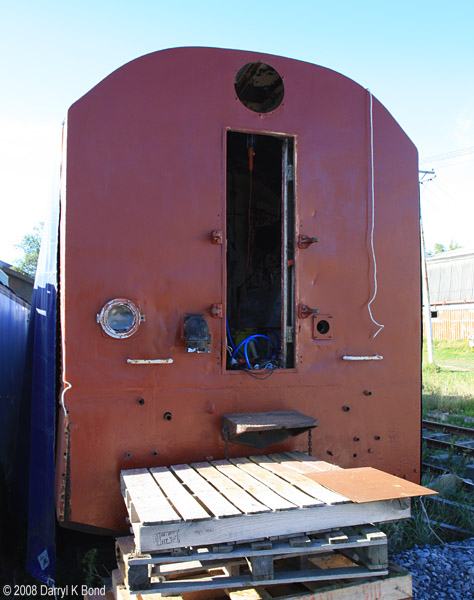
Rear. Head and marker lights and one MU receptacle missing. |
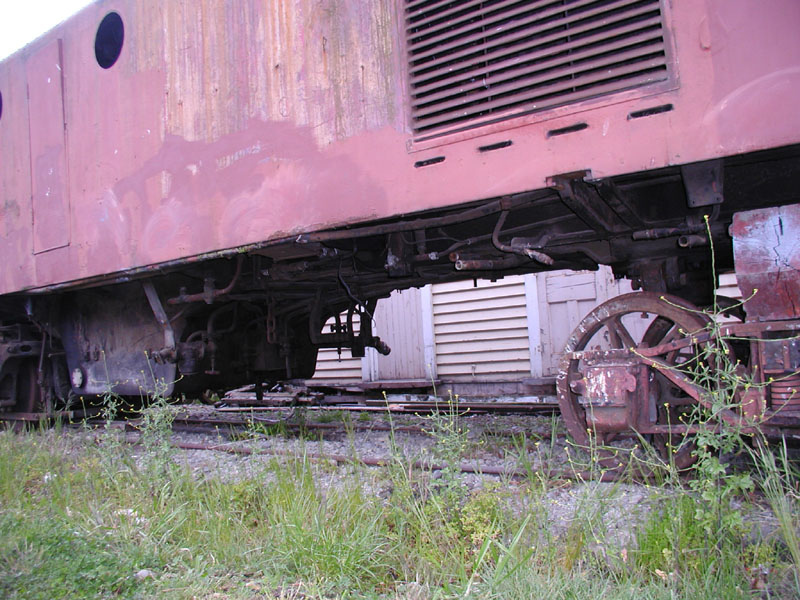
Underside. |

Missing air tanks and rear bogie. TM's in this bogie. |
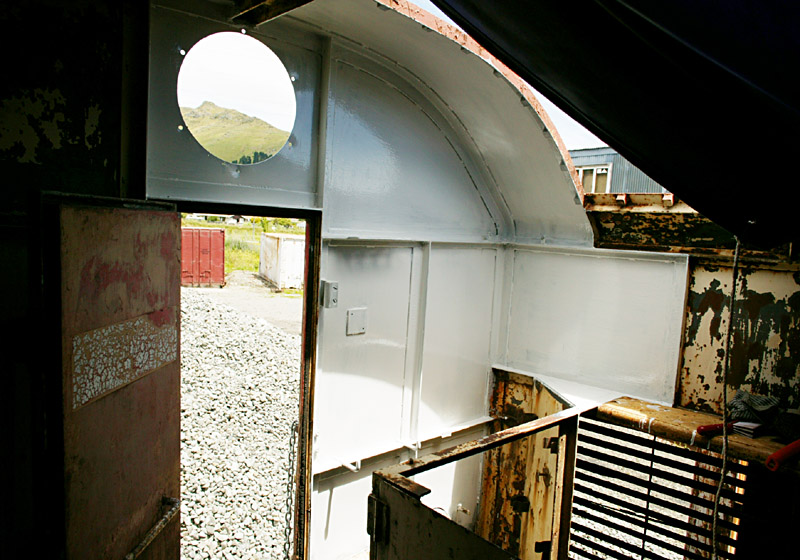
Interior of nose from nose door. Straight on with TM blower at right. Step for window cleaning through nose top hatch in the middle. |
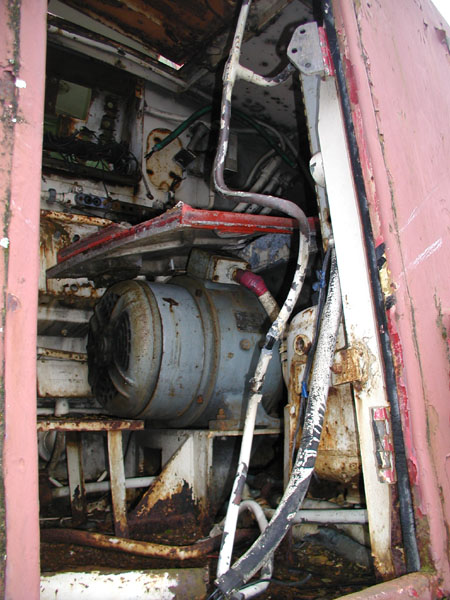
TM blower with nose door on it. |

TM blower and ducting. |
Other side of nose (right side from drivers position). What is this?! |
Right side of nose from cab. |
Control stand and cab from outside. |

Assistant's side. Not much here. |
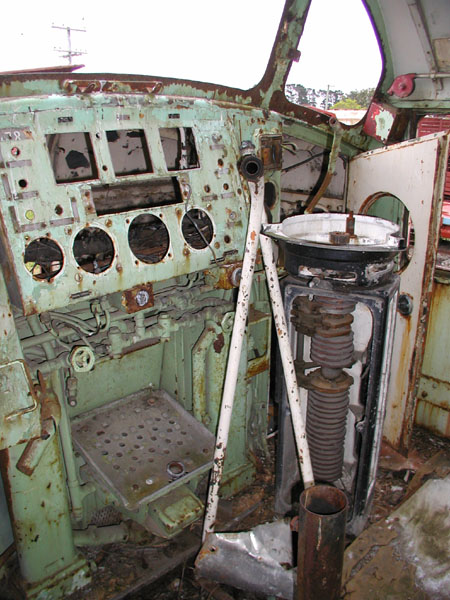
Driver's position. Not too much here either except parts of control stand. White pipes are extras. |
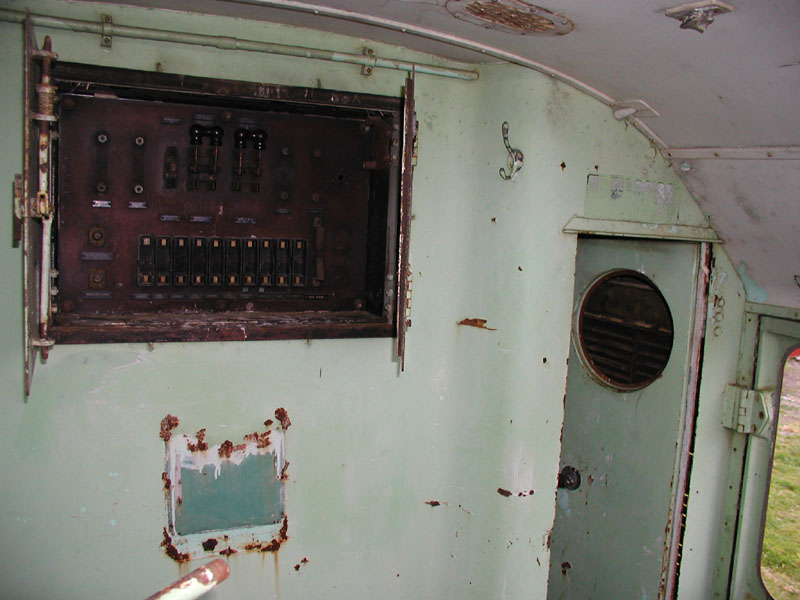
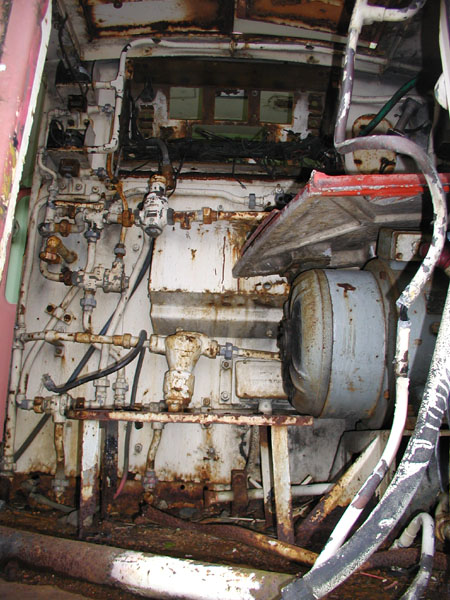
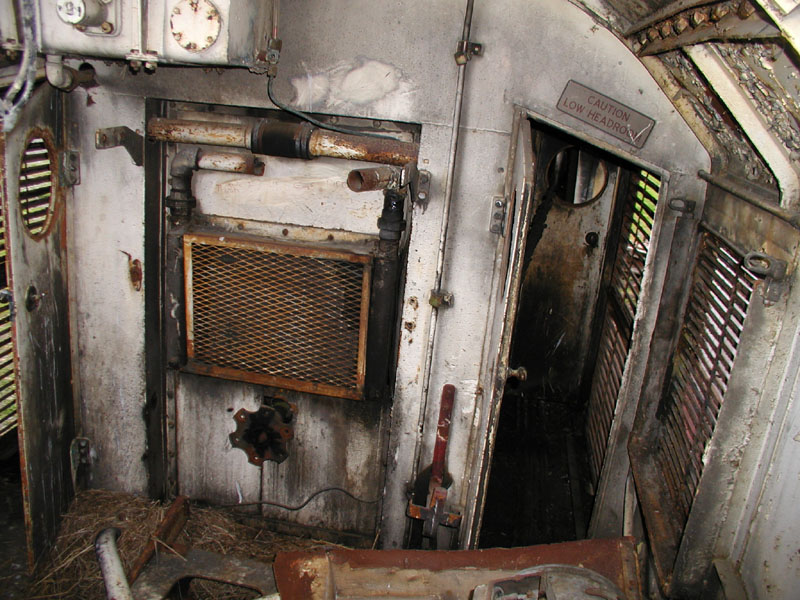
Cab rear wall - doors are open into control cabinet master switches. Door at right into engine room. |
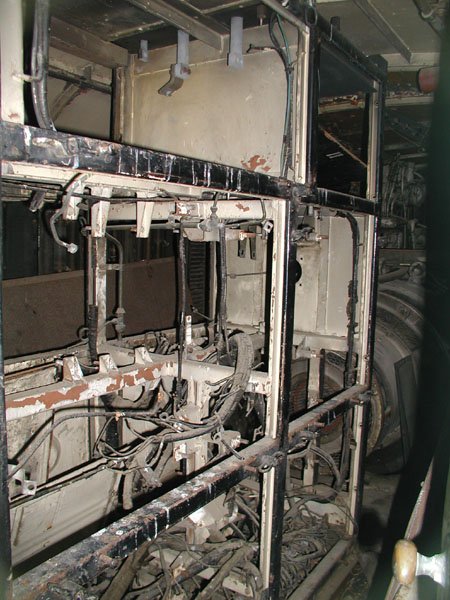
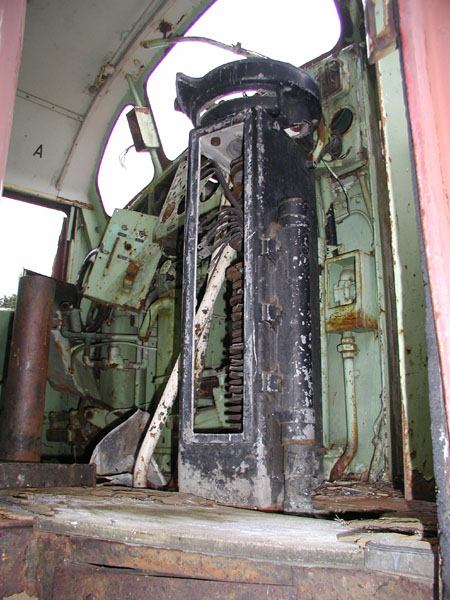
Remains of control cabinet. I'm sure there is supposed to be more in here than this... |
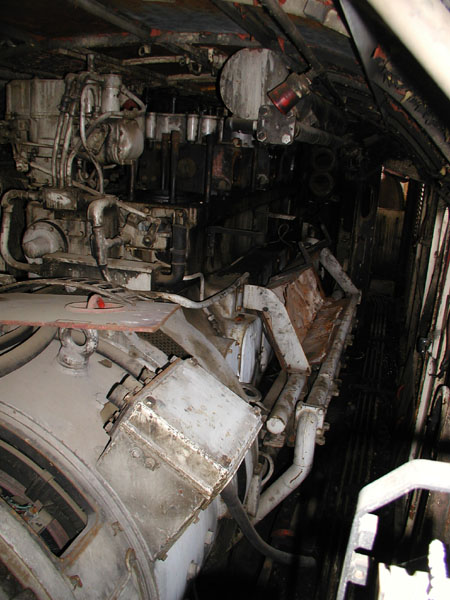
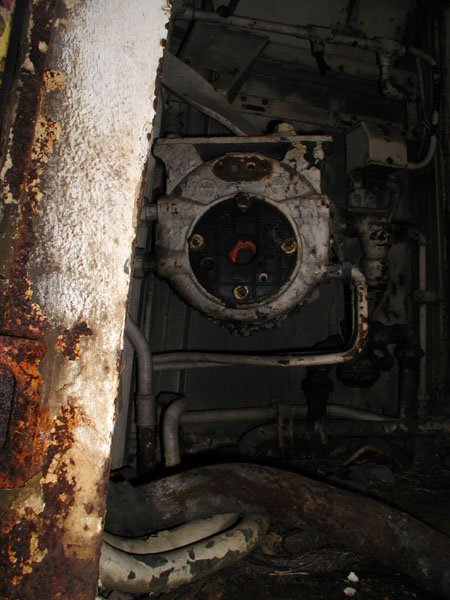
Engine room. Generator in foreground with red control cabinet door on it. Some engine parts obviously missing. |
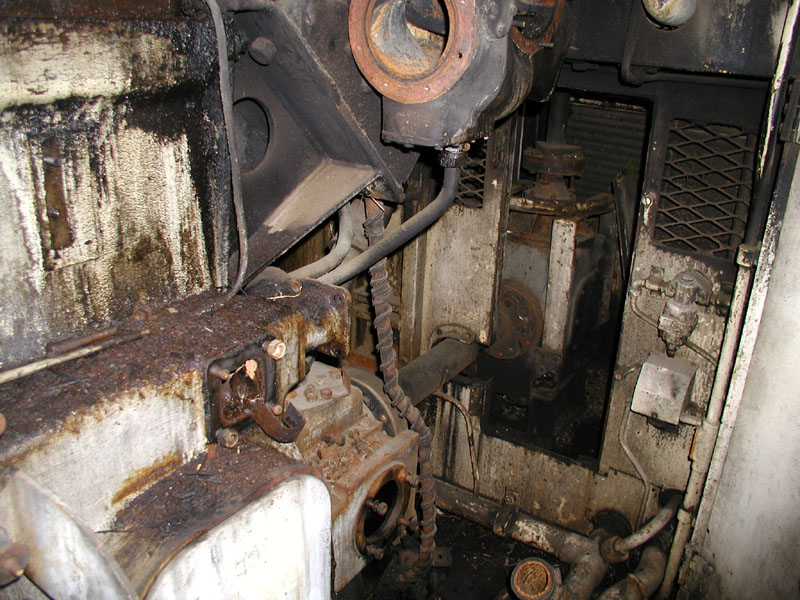
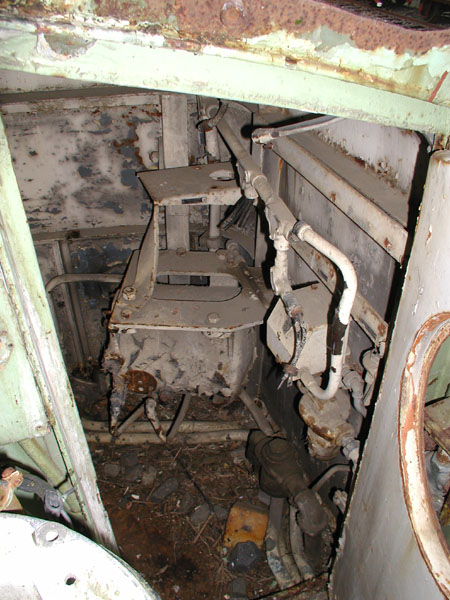
Radiator room from engine bay. |

Radiator compartment intact, cores have seen better days. |
Rear room, looking forward. WHB compressor should be attached to the spinney thing poking out from radiator room. It is under a tarp at left (subsequently removed before purchase), which is where the dynamic brake should be... Radiator header tank at top of pic. |
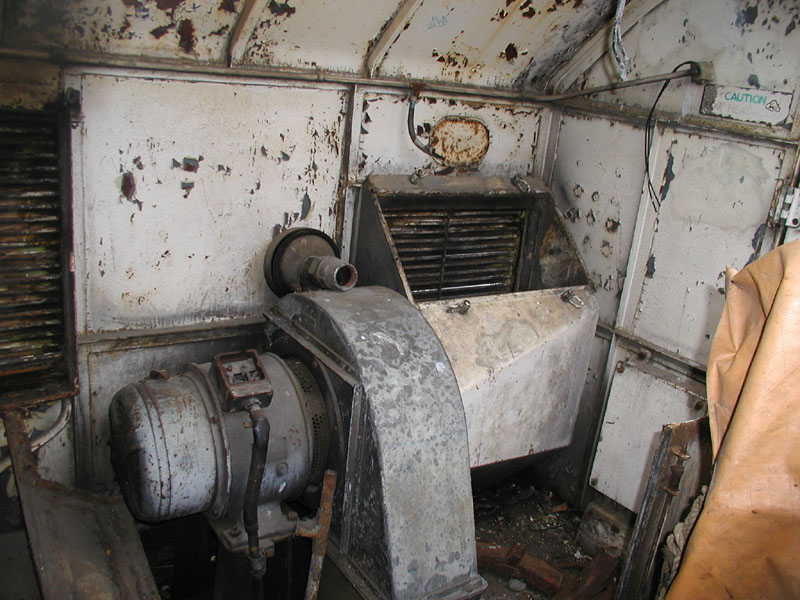
Rear TM blower looks ok. WHB air intake sitting on top of the blower ducting to the floor. |